I put some glue super glue on the part that snapped and I used a reshaped packaging staple from some cardboard box in an attempt to make the snapped part even sturdier.
While I was gluing, I also attached the base plate to the Y-axis support. and left these to dry.
In the mean time I attached the X-axis threaded rods to the stepper motors on top of the Reprap with some aluminium couplers.
After the glue dried, I aligned the Y-axis belt on the base platform. I went looking for the belt clamps so I could mark the holes that needed to be drilled in the base platform. The bag containing all 3D printed parts contained 3 belt clamps and 2 remaining rod clamps.
This is enough for attaching the Y-axis belt to the base platform, but I need 4 in total as I also need 2 belt clamps on the X-axis. The holes in the rod clamps to not line up to the holes of the belt clamps. I guess I'll keep the best belt clamps for the X-axis belt and either fabricate my own Y-axis belt clamps from some thin MDF or use the rod clamps turned upside down.
At this point I tightened up the complete frame, until now I hand tightened everything. It's slightly unnerving to hear light pinging noises as the plastic printed parts have to deal with some real pressure :-)
Now I left the frame of the Reprap to start work on the wade extruder. This extruder was also printed slightly sturdier than the original one. So, again I had to use the M3x16 bolts instead of the supplied M3x10 bolts. And as before, I also needed to use the nut-spacer trick to safely attach the motor to the extruder component.
The nut-spacer trick is also working for the extruder-motor connection situated under the big cog. There is still enough room between the bolt head and the cog.
I probably have to slow down a bit, as only this weekend I ordered my Chinese power supply for the Reprap and I suppose I shouldn't expect it at my doorstep tomorrow. So far for build day 6 :-)
maandag 3 december 2012
zaterdag 1 december 2012
Prusa Mendel RepRap build, day 4 & 5
Day 4
No english version of the eMotionTech Prusa precision kit exists, just a french and spanish version. So I'm trying my best with the french version (luckely this is the 3rd language I know, but the technical french vocabulary is quite unknown to me)When mounting the supports for one of the plates (the 4 supports are in front of the Prusa frame in previous post) I saw the bolts could not pass the threaded rod connecting the side triangles on the bottom. That's because the rod needed to be mounted below the bottom-side threaded rods instead of on top of it. Thanks for the people of eMotionTech to help me out on this (although I found out myself before I got there answer back). Just shows I really should stick to the french version of the manual :-)
I don't have super glue laying around, so I cannot fix the base plate to the supports.
The second hurdle was mounting the Y-axis motor to the Y-motor bracket. Apparently this is an updated bracket compared to the stock one. It's much sturdier. Unfortunately there aren't any longer bolts left to spare in the kit. So this concluded day 4 of the construction.
Day 5
I bought some M3x16 bolts (the only M3 bolts I could find) in the hard ware store so I could mount the Y-axis motor. Although I forgot to purchase some super glue.Unfortunately these bolts are about 2 mm too long. I solved this by placing an M3 nut between the washer and the head of the bolt.
I could now continue building the X-axis parts. You need M3x16 bolts for this to, so I'm glad I bought some extras to day :-) . All went well until I applied some pressure on the left side component when pushing the slide rods through. I heard a crack and the mounting bracket for the motor cracked. Guess I will need that super glue even more now :-(
2 of the mounting point are still good, so after gluing that part, I guess all will be well.
I mounted the X-axis construction into the frame and mounted the motors on top of the frame. So that concludes build day 5 :-)
woensdag 28 november 2012
Prusa Mendel RepRap build, day 3
Tightened the complete frame, added the bottom threaded rod (so part 5 of the manual is finished) and started on the Y-axis (part 6 of the manual):
I just found out the eMotionTech manual is slightly different (at least for the Prusa Mendel Precision kit I ordered) from the online Prusa Mendel Visual instructions. Unfortunately it's in french, I'll see if I can track down the English version.
maandag 26 november 2012
Prusa Mendel RepRap build, day 1
During the last months I have been considering buying a 3D printer. It has been a careful consideration and I even have been helping on an ultimaker build during a build weekend, just to get the hang of it. The build weekend certainly did not quench my thirst for a 3D printer.
Although the ultimaker is a remarkable nice machine, I doesn't fit my budget. So after some browsing I ended up on the 3ders.org website that contains a 3D printer price comparison list that gets updated from time to time. So I went for the cheapest and closest option (to keep shipping costs as low as possible): RepRap France - eMotion Tech. I went for their Prusa Mendel precision kit. So after paying and waiting a box finally arrived at my doorstep.
I went quickly through the box, to see if most parts were there. I know some plates are still on their way, but nothing stops me from already starting the build
There seems to be 5 footed frame vertex and only 1 frame vertex instead of 4 footed and 2 regulars, but that only impacts the looks, not functionality. Hopefully that will be the only surprise I'll encounter in this build, *fingers crossed*.
So this is the result of 1 hour of spare time :-)
Although the ultimaker is a remarkable nice machine, I doesn't fit my budget. So after some browsing I ended up on the 3ders.org website that contains a 3D printer price comparison list that gets updated from time to time. So I went for the cheapest and closest option (to keep shipping costs as low as possible): RepRap France - eMotion Tech. I went for their Prusa Mendel precision kit. So after paying and waiting a box finally arrived at my doorstep.
I went quickly through the box, to see if most parts were there. I know some plates are still on their way, but nothing stops me from already starting the build
There seems to be 5 footed frame vertex and only 1 frame vertex instead of 4 footed and 2 regulars, but that only impacts the looks, not functionality. Hopefully that will be the only surprise I'll encounter in this build, *fingers crossed*.
So this is the result of 1 hour of spare time :-)
zondag 21 oktober 2012
Short report on Ultimaker build weekend at Buda labs
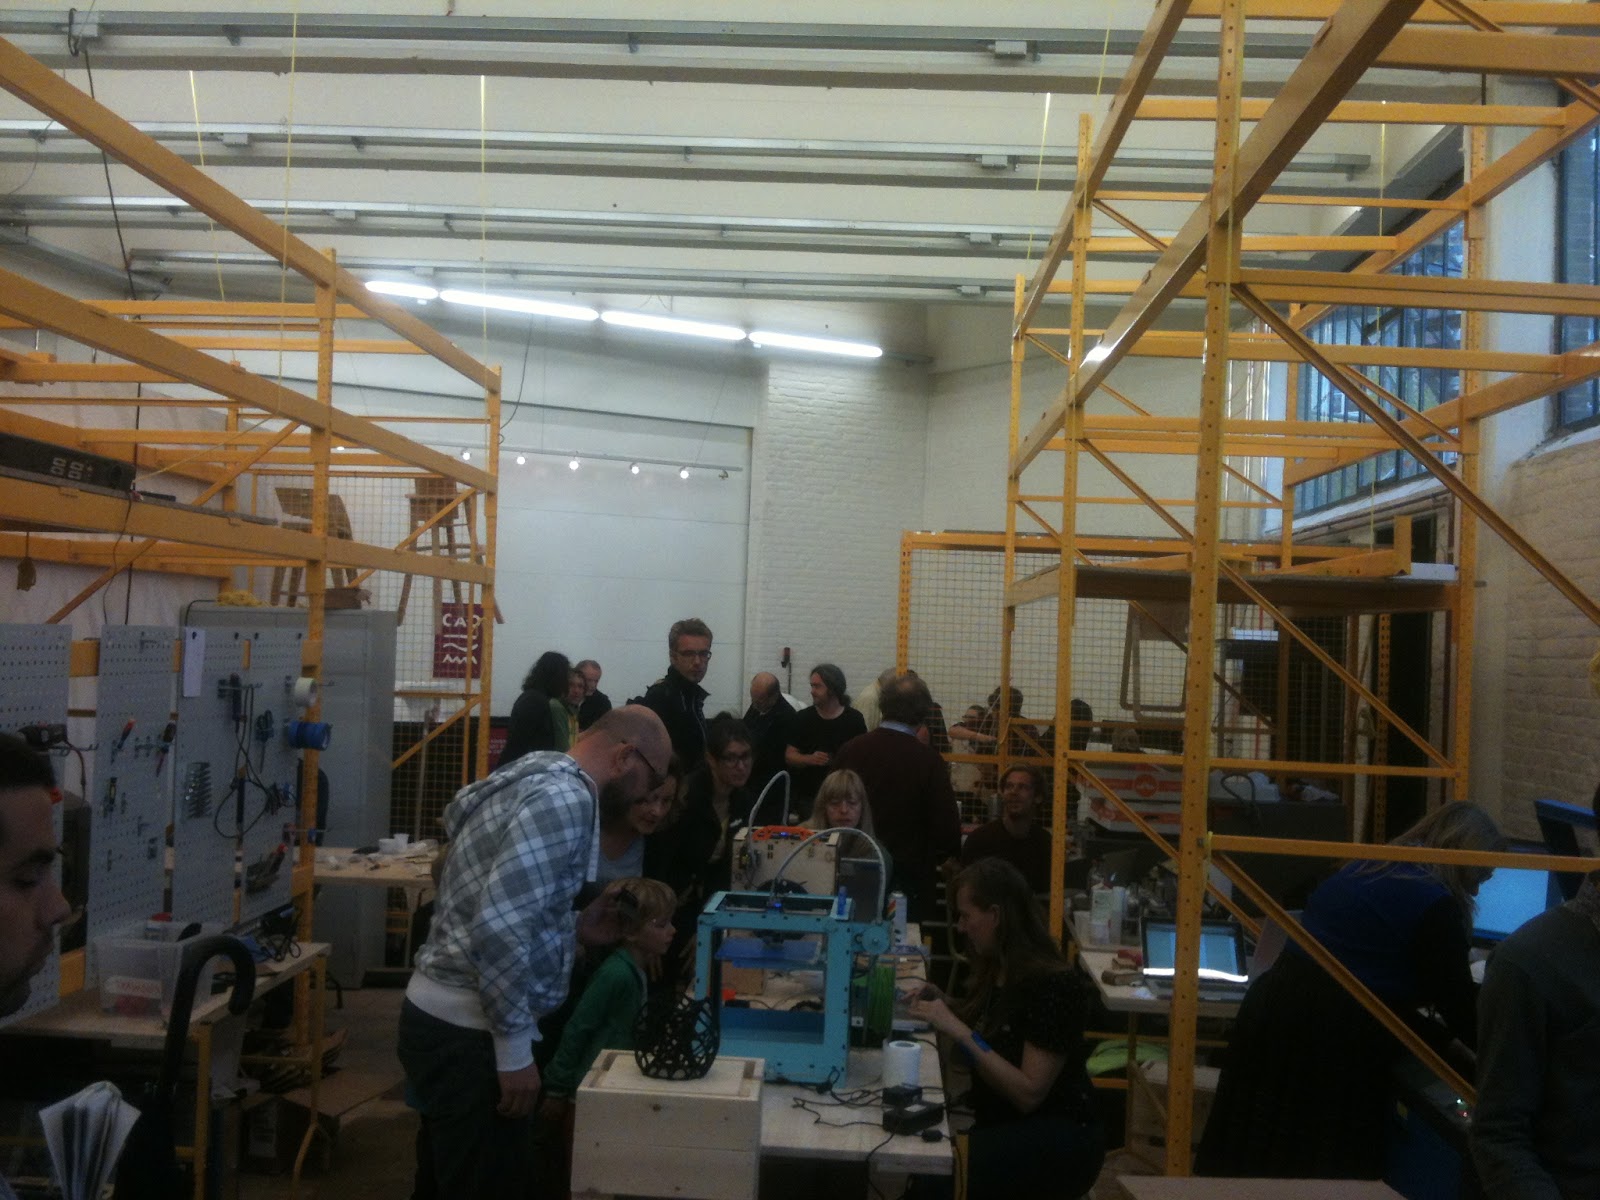
This weekend I participated in an Ultimaker build weekend @Buda::lab
Together with the guys from timelab (fablab from Ghent) Buda::lab (fablab from Kortrijk) a few teams started building Ultimaker 3D printers. I volunteered in helping build a 3D printer (my budget isn't big a enough at this time to afford one :-) ).
I was teamed up with jo3ri to build his 3D printer and helped out wherever I could. Sometimes a second pair of hands can be very helpful.
Some images
some vids
zaterdag 8 september 2012
Raspberry Pi NAS
This documents my setup of my Raspberry Pi as a cheap NAS
Initially I followed http://elinux.org/R-Pi_NAS but ran into some problems. Especially the section on 'Adding USB storage' and more specifically 'Remount USB storage on startup' don't seem to be working for me. (might be my fault)
I finally got things working by following some tips on this page which actually made my system work.
I'm currently experimenting with a cubieboard as alternative to this raspberry pi NAS setup. Read about it here.
The following is a rude mash-up of the above mentioned sources, so all credit to them.
So basically, once logged in to your raspberry pi that is connected to the internet, you can do the following:
General setup
sudo apt-get update
to put your system up-to-date
sudo apt-get install samba samba-common-bin
installs samba binaries
sudo apt-get install autofs
allows you to automatically remount your usb drive when your raspberry pi restarts
sudo mkdir /home/shares
sudo mkdir /home/shares/public
sudo mkdir /home/shares/public/disk1
sets up the directory structure where your USB hard drive will get mounted
fstab setup
sudo cp /etc/fstab /etc/fstab.old
copy fstab file, just to be sure
sudo vi /etc/fstab
edit the fstab file by adding the following to the end
/dev/sda1 /home/shares/public/disk1 ext3 defaults 0 0
(I defined my USB drive as ext3 as I reformatted it to ext3 before starting to use it)
sudo mount -a
mounts all drives that are not mounted yet
ls -al /homes/shares/public/disk1
ideal time to see if you messed up your fstab file
automount setup
sudo vi /etc/auto.master
add the following
/media/ /etc/auto.ext-usb --timeout=10,defaults,user,exec,uid=1000
after
+auto.master
Samba setup
sudo cp /etc/samba/smb.conf /etc/samba/smb.conf.old
copy file, just to be sure
sudo vi /etc/samba/smb.conf
edit the file, add the following to the end of the file:
### USB share definition###########################
[usb]
Initially I followed http://elinux.org/R-Pi_NAS but ran into some problems. Especially the section on 'Adding USB storage' and more specifically 'Remount USB storage on startup' don't seem to be working for me. (might be my fault)
I finally got things working by following some tips on this page which actually made my system work.
I'm currently experimenting with a cubieboard as alternative to this raspberry pi NAS setup. Read about it here.
The following is a rude mash-up of the above mentioned sources, so all credit to them.
So basically, once logged in to your raspberry pi that is connected to the internet, you can do the following:
General setup
sudo apt-get update
to put your system up-to-date
sudo apt-get install samba samba-common-bin
installs samba binaries
sudo apt-get install autofs
allows you to automatically remount your usb drive when your raspberry pi restarts
sudo mkdir /home/shares
sudo mkdir /home/shares/public
sudo mkdir /home/shares/public/disk1
sets up the directory structure where your USB hard drive will get mounted
fstab setup
sudo cp /etc/fstab /etc/fstab.old
copy fstab file, just to be sure
sudo vi /etc/fstab
edit the fstab file by adding the following to the end
/dev/sda1 /home/shares/public/disk1 ext3 defaults 0 0
(I defined my USB drive as ext3 as I reformatted it to ext3 before starting to use it)
sudo mount -a
mounts all drives that are not mounted yet
ls -al /homes/shares/public/disk1
ideal time to see if you messed up your fstab file
automount setup
sudo vi /etc/auto.master
add the following
/media/ /etc/auto.ext-usb --timeout=10,defaults,user,exec,uid=1000
after
+auto.master
Samba setup
sudo cp /etc/samba/smb.conf /etc/samba/smb.conf.old
copy file, just to be sure
sudo vi /etc/samba/smb.conf
edit the file, add the following to the end of the file:
### USB share definition###########################
[usb]
comment = USB
sharepath = /home/shares/public/disk1
writeable = yes
valid users = @users
force group = users
create mask = 0660
directory mask = 0771
browseable = yes
###################################################
Abonneren op:
Posts (Atom)